
Introduction
Boards is designed to meet the needs of any company or creative looking to share content for a specific context, often alongside guidelines and relevant info about how the assets are intended to be used. The feature is perfect for product launches, sales collateral, campaigns, newsletters, event info, and more. It's a perfect remote workplace feature that's fully aligned with the latest trends and the ever-evolving workday of our end-users.
Build your Board
Content Administrators must log in to the online version of Pickit to manage their DAM system. You can log in using your email/password credentials or Single Sign-On at app.pickit.com.
Once signed in, you will see the Public facing view of the DAM that end-users will also have access to. From here, only administrators can see the button that says Admin Mode.
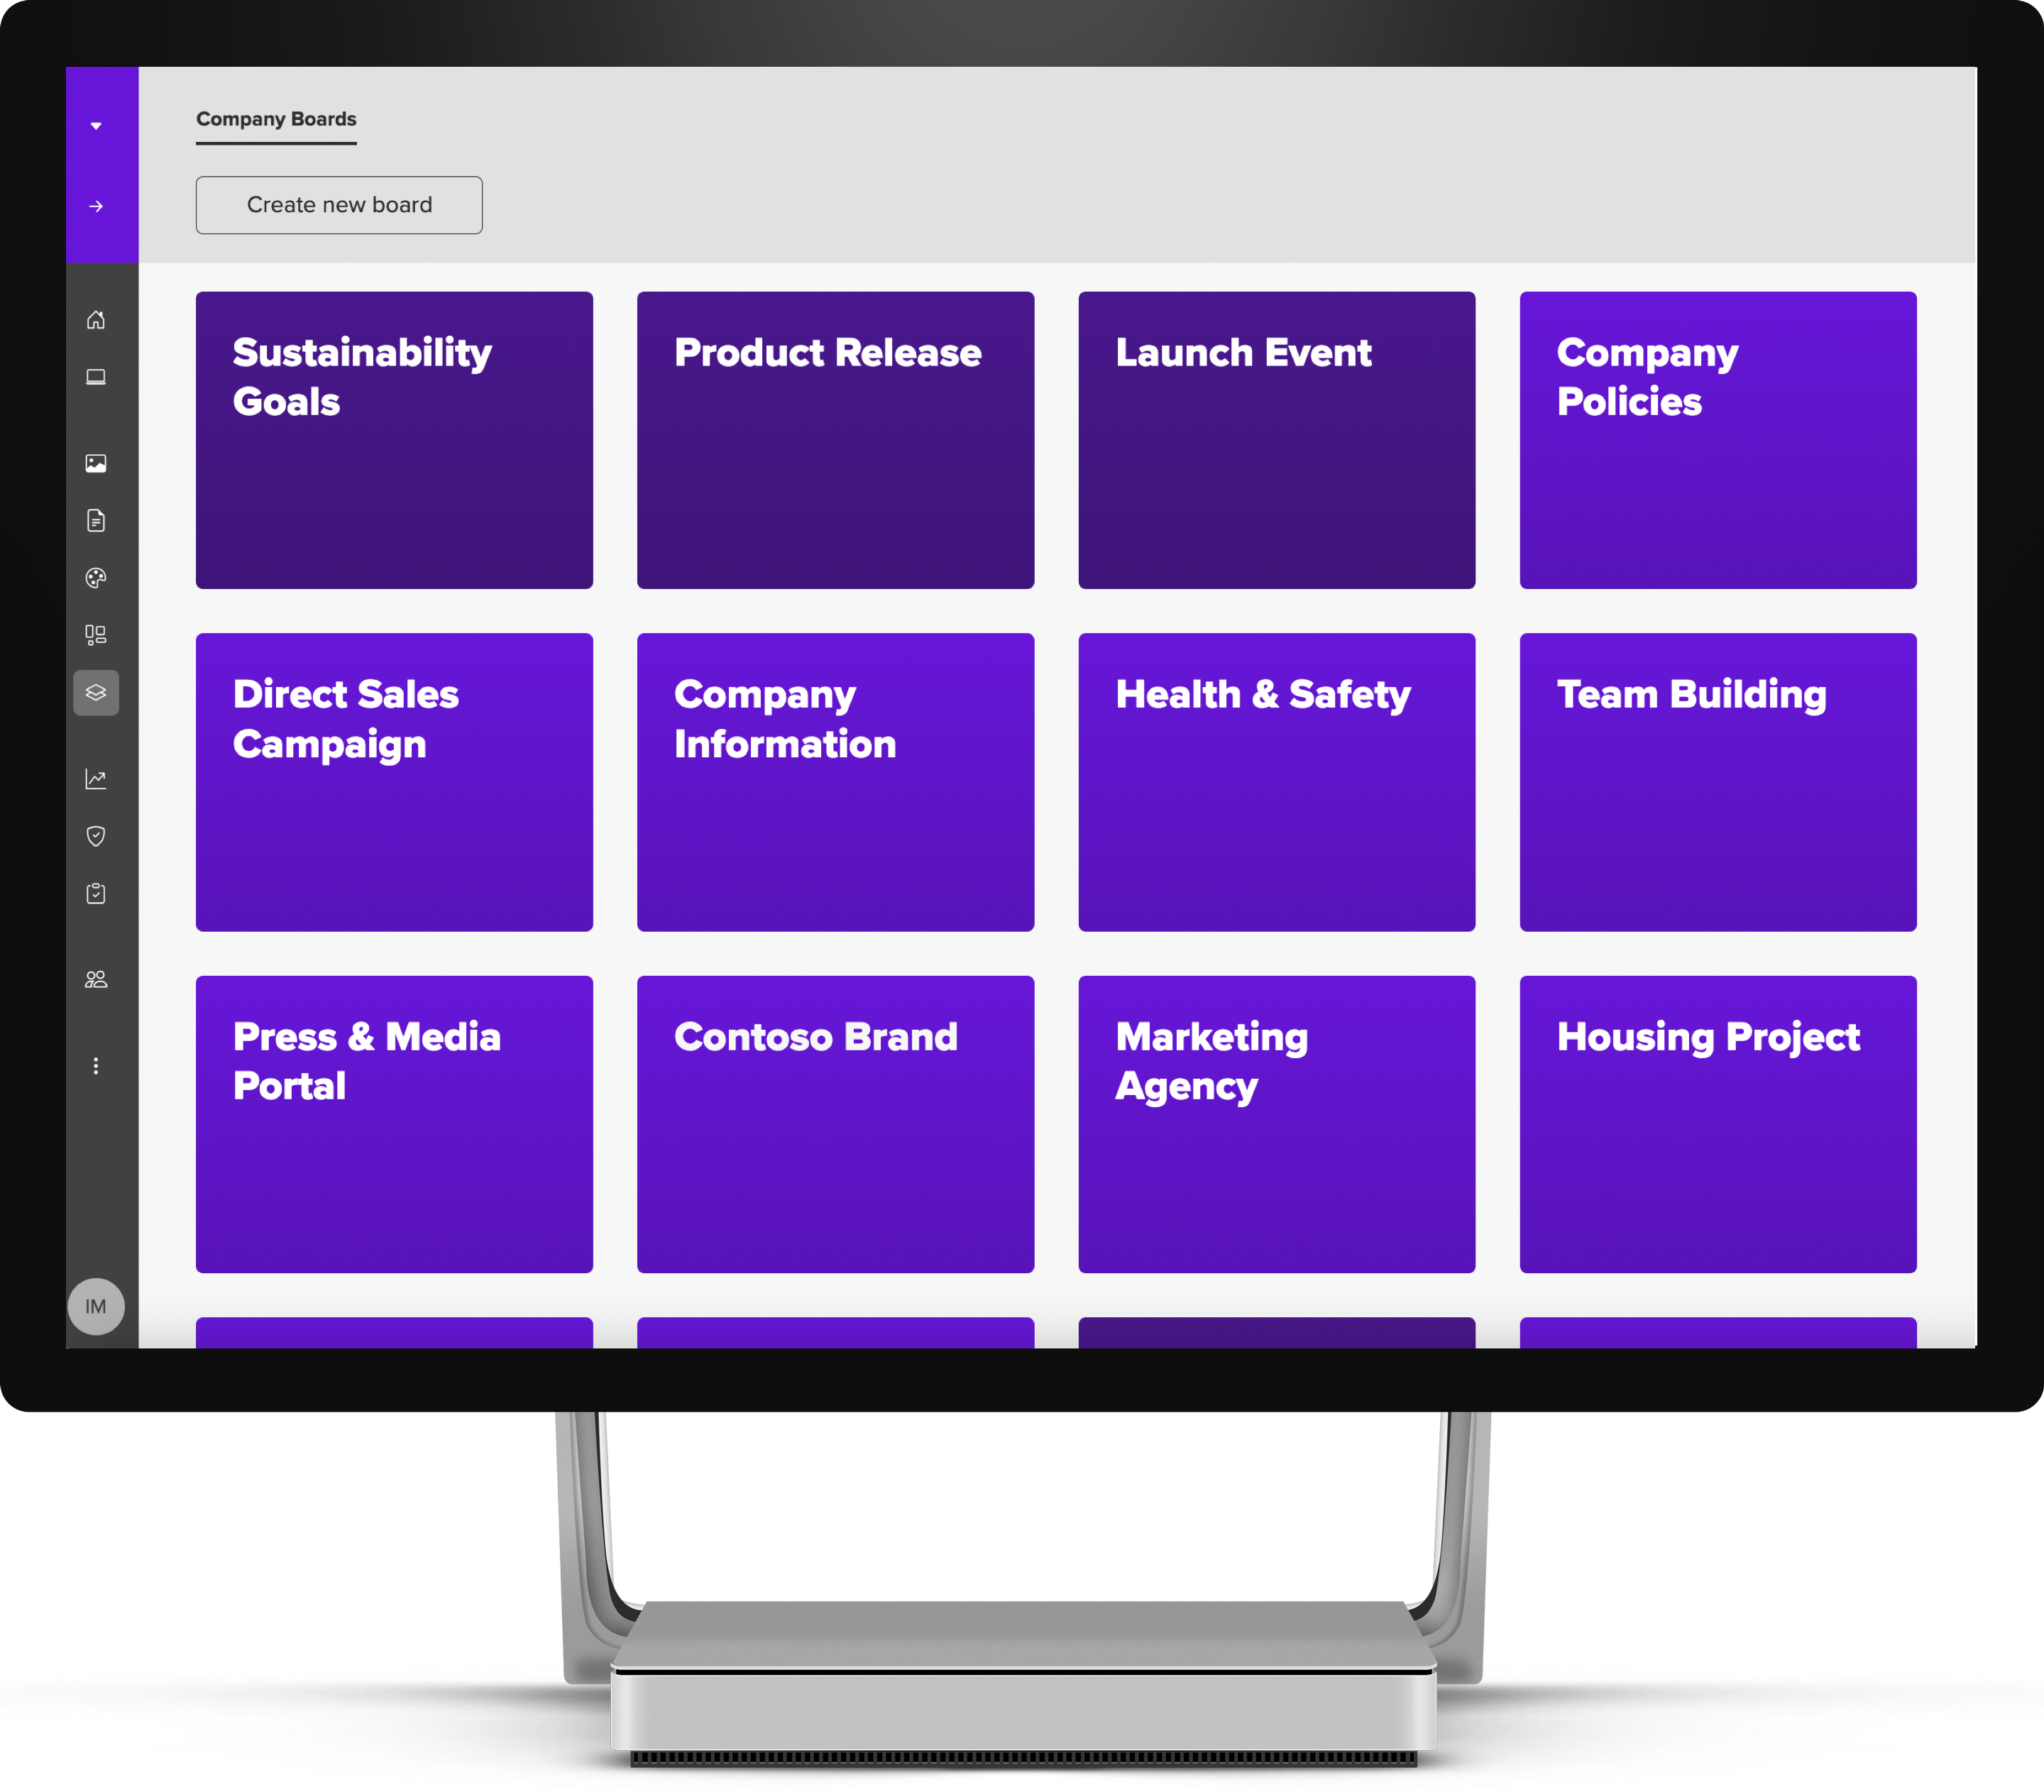
Now you will be on the home page for Content Administration. From this view, Content Administrators, can now find Boards in the left side menu. This is where you will start to create your first Board.
Initial Settings
When you click on Create new Board you can start by naming it, add Label and choose the Authors ( Creators/ Owners of the Board).
Continuing with the Preferences settings, you can choose to enable Board search for boards visitors and Download bag to multi-select assets in a board, then download as a zip.
Create a Thumbnail by selecting a background color and the text color. You also can upload an image or a visual from the library.
In Styling, you can choose the Layout between Centered or Fullscreen and the Theme between Light, Dark or Auto. There's an option to change the menu background and the text color to match your chosen design. The Board Menu can be changed to appear on the right side of the screen by enabling the Menu button.
Typography. Here's where you can choose the Headlines and Body text typography and apply changes to all boards & guidelines by enabling the button "Yes".
If Brand is activated for your community, Typography will be available under your Board settings and will let you choose between some default fonts and fonts you've uploaded. You'll also have the option to apply changes to all boards & guides. This option will overwrite all other fonts.
After you've completed these initial settings, your Board will now follow the styling you have updated. You can also access these settings by hovering the mouse pointer over the thumbnail and clicking on the wheel icon.
Styling your Board
You can now start adding specific sections. The sections are divided into 7 modular categories: Text, Media, Files, Collections, Boards/guides, Colors and Separators. They all have different display options (media collections, images, documents, videos from the library, embedded videos, and much more). They allow you to offer a unique style when showcasing your content.
- Custom link - you're able to customize the display name of your link.
- Board - option to link to any Board
- Media collection - you can choose to link to any media collection from your library.
- Document collection - you can choose to link to any document collection from your library.
- Media - option to select a media file from your library, Pickit Stock or upload to media from your computer
- Document - pick a specific document from your library or upload a new document from your computer
- Brand assets - select the brand assets you wish to add to the section
- Media collection - you can choose to link to any media collection from your library.
- Document collection - you can choose to link to any document collection from your library.
When you've completed a section, you can add it to the Boards menu by clicking the + sign on the right side of the screen. It will become available in the Board's menu on your screen's top left or right side (depending on the chosen settings). You can even edit the section's name, making it very easy for users to find exactly what they're looking for.
Once a file has been added to a section, you'll be able to implement the following settings:
- Show visual as file
- Enable media preview and download will
- Display as: Auto, Circle, 15:9, Square
- Add background-colour
- Enable file width
Source new assets
When in need of other assets from your computer, you can easily import them directly to your Board.
To insert an asset, you have to add the preferred section, and a window will pop up from where you can click Upload to media, select the asset/s you wish to import and click on Open. Once you insert an asset/s into the Board, you'll be able to make the preferred settings.
If you are storing your digital assets in another cloud storage solution, you can easily integrate them to the Pickit platform, check out all our integrations here: Pickit Integrations Guide
Share your Board
There are two ways you can share a Board:
- Internally with All users, Specific users/groups/departments or Admins only.
- Externally by sending an invite email, authentication or allowing anonymous users to access the Board via a link.
All users – All users that are in your community.
Admins only – Only Administrators will be able to see the Board.
Share to external users – Allows external users access only what's been assigned to them + anonymously shared content.
Specific users – Specific users within your community or to specific user groups.
Allow anonymous users to access this Board by authenticating – Anyone with the link can access the Board by signing up or logging into a Pickit account. Anyone who authenticates will be added to the "Share to external users" list.
Allow anonymous users to access this Board – This will allow anyone with a link to access this Board.
All content in a Board is automatically shared with everyone who has access to the Board.
Examples/Inspiration
The Boards module is available with the Enterprise Plan. This guide looks at the experience for Enterprise Plan admins. If you'd like to learn more about our different plans and pricing, please visit pickit.com/pricing.