
Logging In
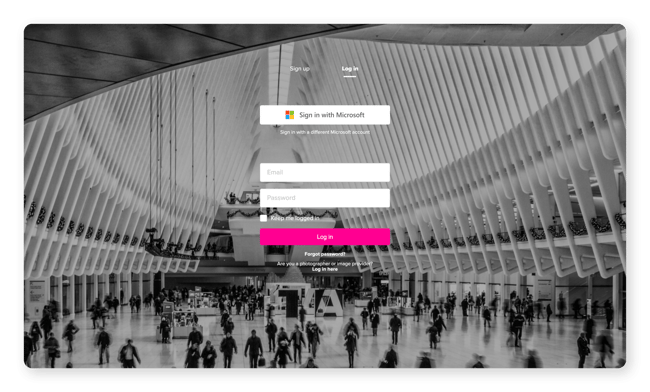
Administrators must log in to the online version of Pickit to manage Documents. You can log in using your email/password credentials or single sign-on at app.pickit.com.
Once signed in, you will see the Public facing view of the DAM that end-users will also have access to. From here, only administrators can see the button that says Admin Mode. Click here.
Now you will be on the home page for Content Administration and see a list of the core features including Documents.
First Look
The navigation bar on the left side of the screen can be expanded or minimized with the arrow icon at the top. When expanded you will see Home, Web app Mode, Media, Documents, Guidelines, Insights, Image Rights, Users and More. This guide focuses on the Documents section. Please reference our product guides page to learn more about the other features.
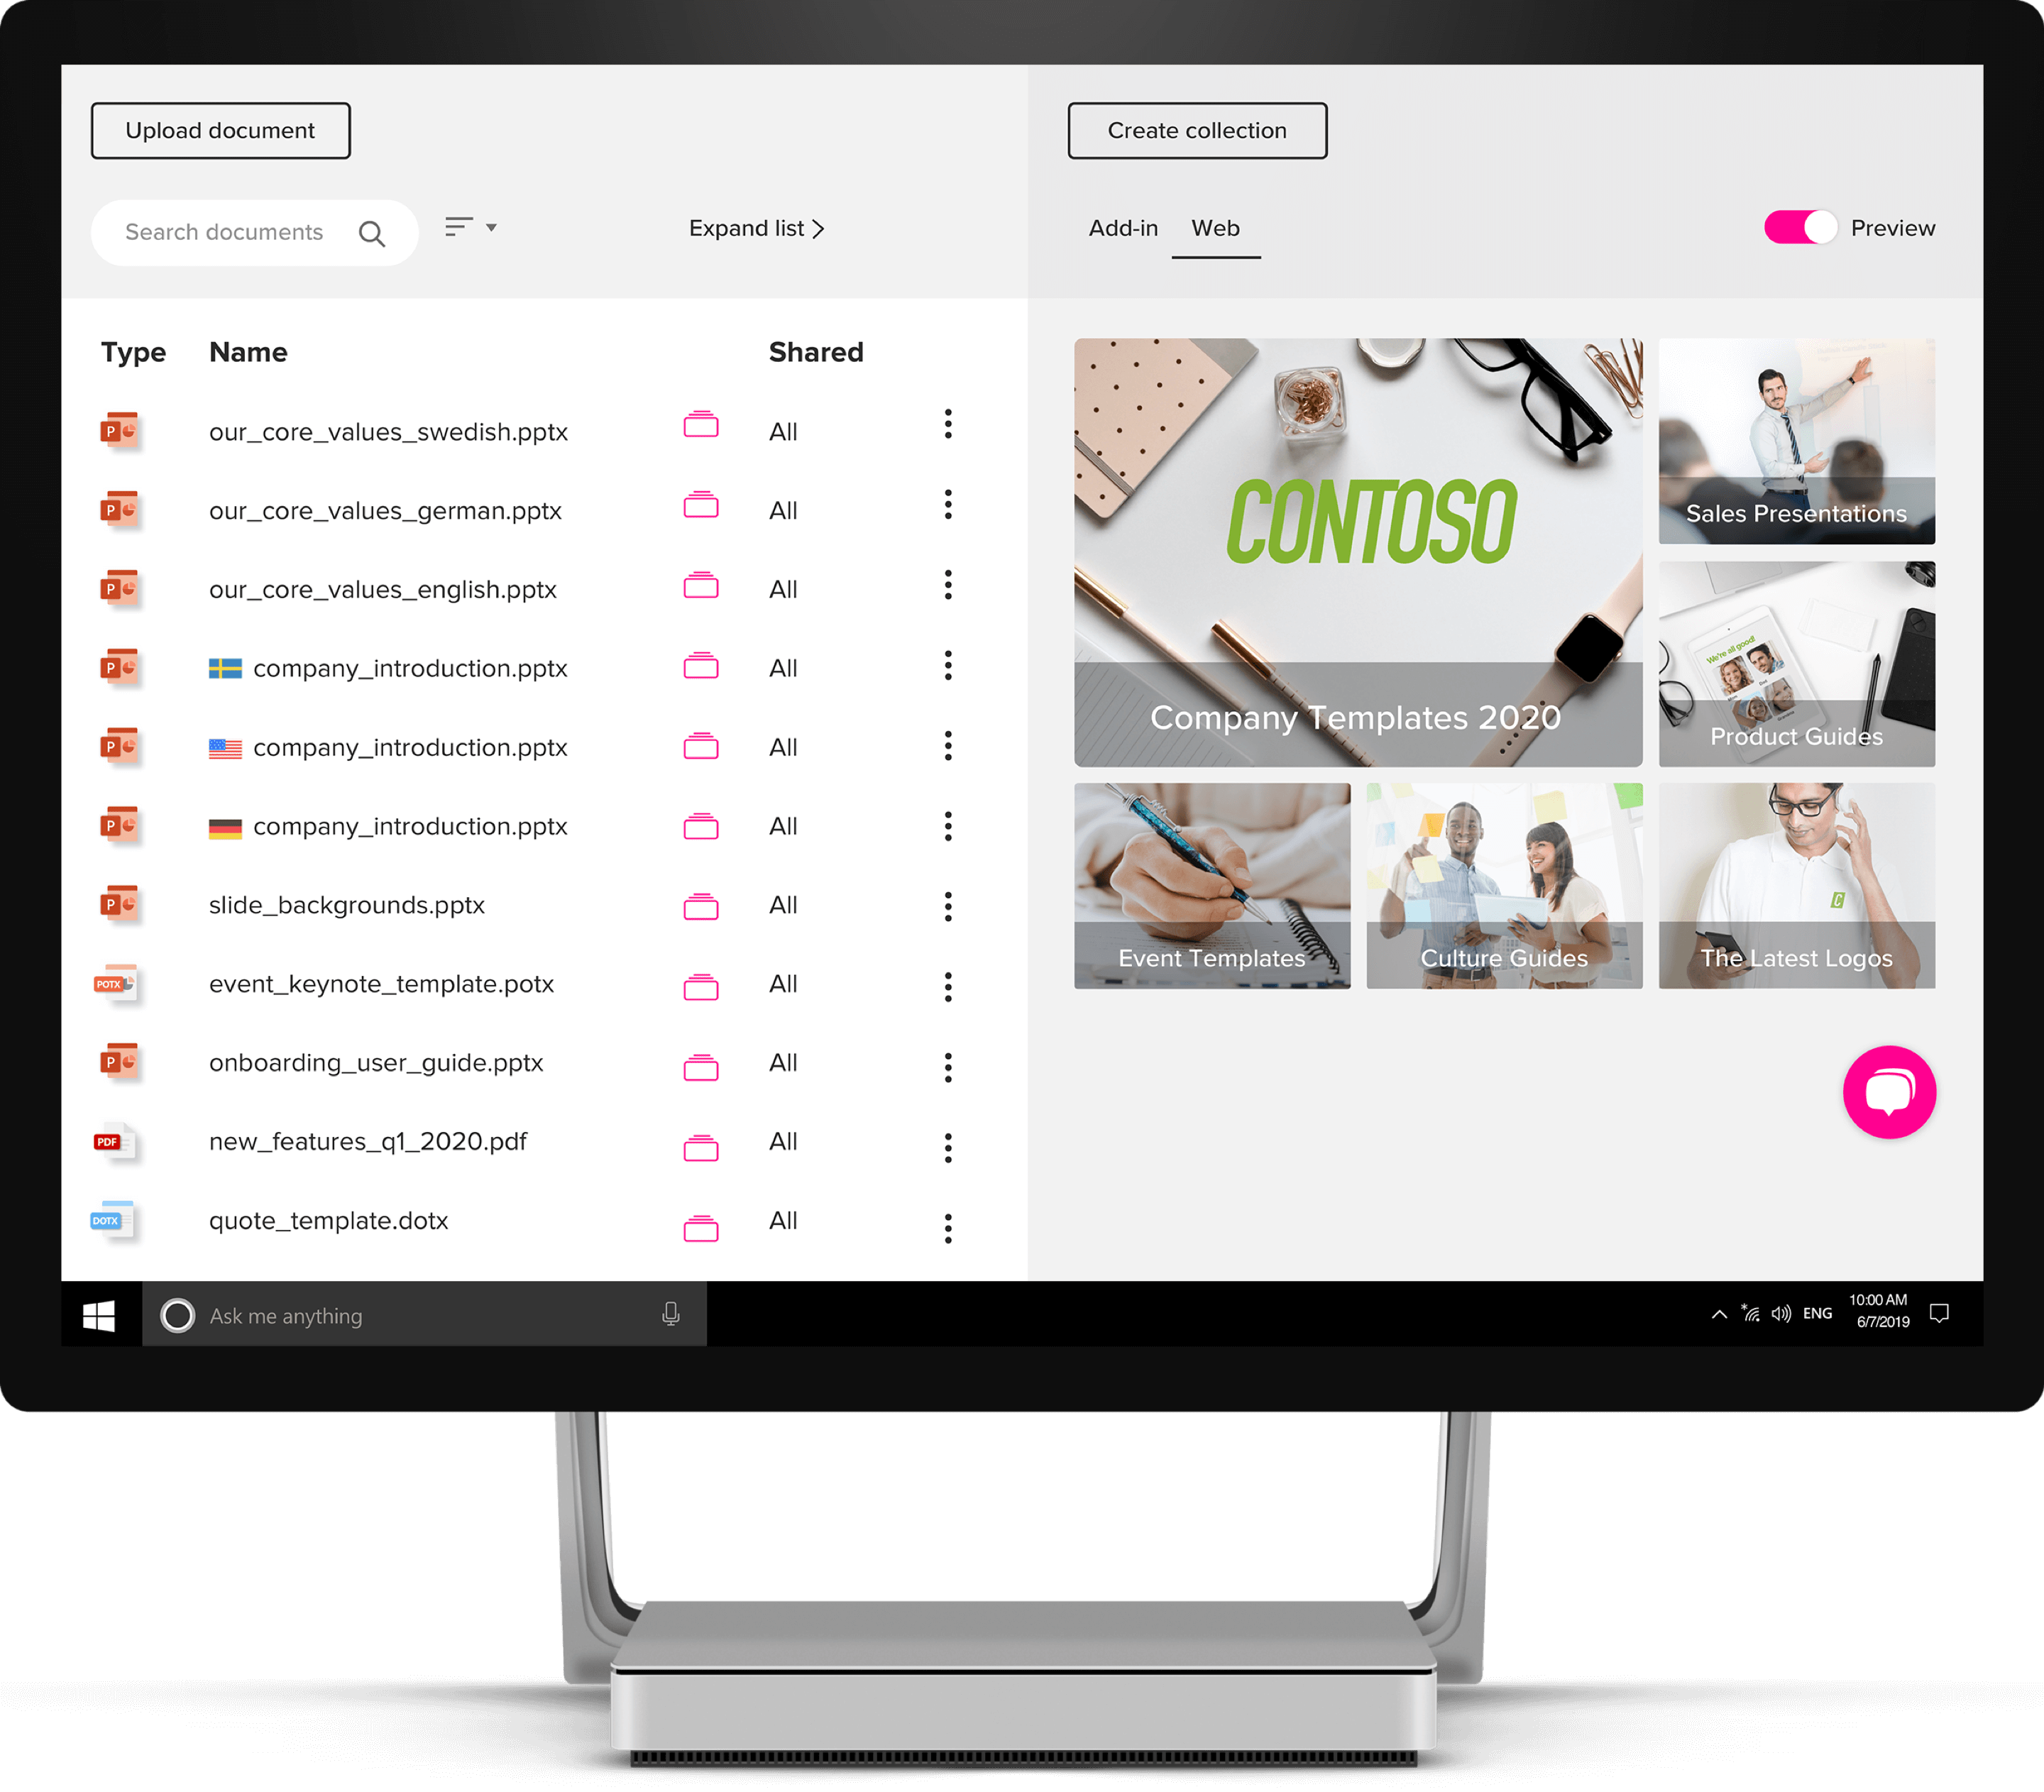
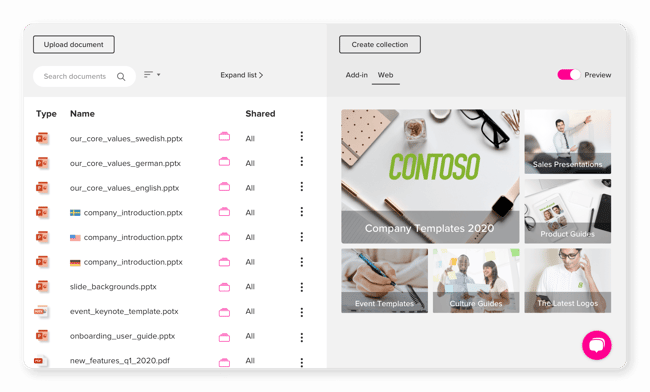
On the left side of the screen, you'll see an overview of what documents you have already uploaded, their file type, name, associated collections and sharing permissions. If a document is in a collection, a pink folder will appear next to Shared. You can hover the pink folder to quickly see what collection(s) this document is in.
You can sort your documents list by file name, file type, and sharing permissions by clicking on the appropriate column.
To quickly find a document that you’ve already uploaded to the system there are three options.
1. Use the search feature and type in keywords
2. Look up documents by type selecting the three lines next to the search bar
3. Look up documents by sharing permissions by selecting the three lines next to the search bar
On the right side of the screen, you'll see an overview of what collections you have already created.
If you have not uploaded any documents or created any collections, this section will be blank.
Uploading Documents
We allow admins to both create collections to organize files or upload stand-alone files.
You can start by selecting the button labeled “Upload document”, this will launch your file manager view where you can search for and select the documents you’d like to upload. Currently we support pptx, potx, docx, dotx, pdf, xlsx, and keynote formats. There is no file size limit on documents.
A loading bar will indicate that the documents are uploading, and when complete, a notification will appear. Now you will see the uploaded document displayed alongside some basic information including File Type, Name, and Sharing permissions.
The default view separates document files by upload date, also referred to as Sessions. You can change this view by selecting the calendar icon with the drop down arrows. Here you can select Details, which displays a small filetype icon on each file, or Table, which displays detailed information. From this view you can also change the default file display size to Small, Medium or Large.
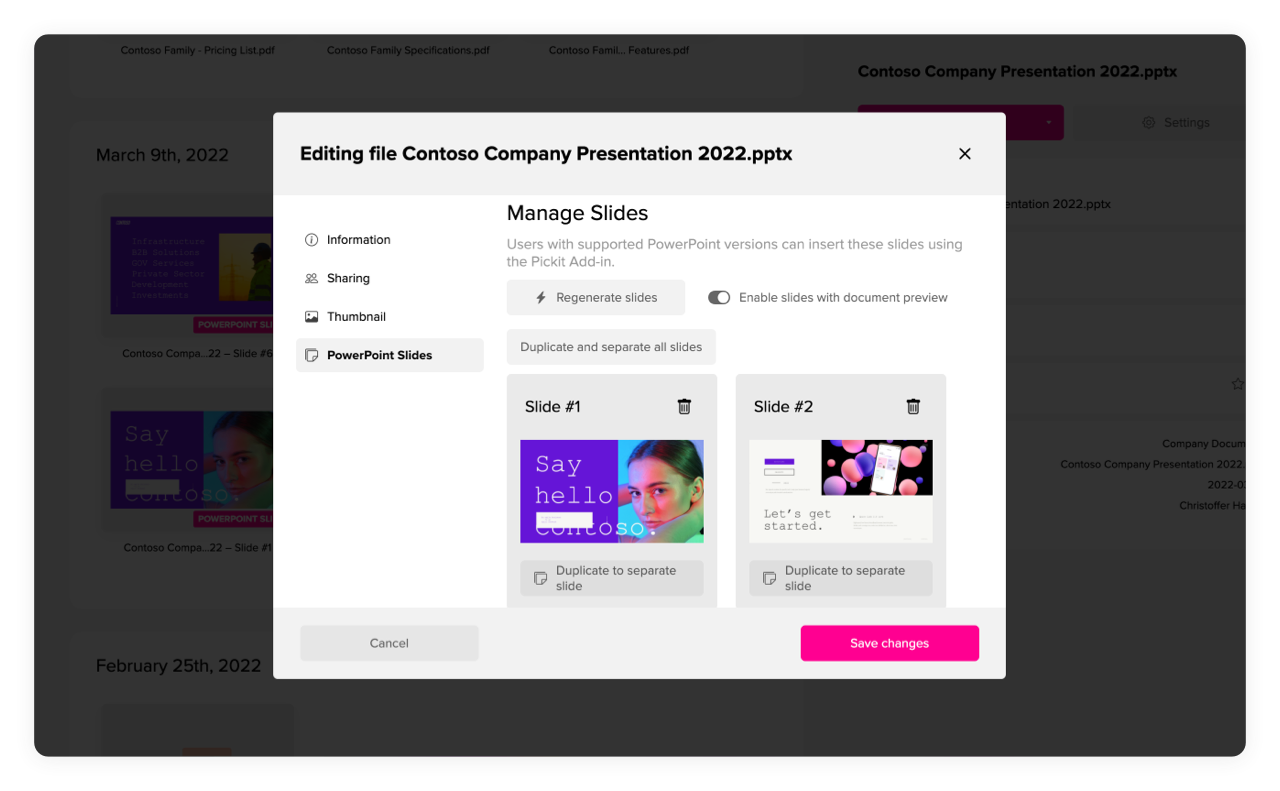
PowerPoint Slides
See a video on how Slides works for end-users:
Document Information
To add metadata and additional information to a document, click on it and a new screen will open. Here you will see tabs for Details, Preview, and Publishing.
Details - Pickit will auto-populate the document name based on the file name. We recommend adding additional information in this section for Description, Author, Tags, and Country. This will make the file easier to search for, share with groups, and make sure the right people are credited. Press the pink Save changes button on the right to save any edits you make to the fields.
Preview - Adding preview images makes it easy for people to see what’s in a document without opening or downloading it. Here you can upload preview images and press the pink Save changes button on the right.
To make preview images in PPT, you open a document, choose Save as, select JPG and click All slides on the question that pops up.
In Word, PDF, and Excel we recommend taking a screenshot of the document.
Publishing - This section allows you to manage sharing permissions and add documents to collections. If you don't have any existing collections or want to create a new one, you can do so from this view. Select Create new, name your collection, select sharing permissions for your collection, upload a thumbnail image, and press the pink Create collection button. Now you’ll see your document and its associated collection. Make sure to save changes. If you do not put a document in a collection but have shared it with users, it will appear underneath collections.
For more information about sharing permissions, please navigate to the Sharing section.
Additional Filters and Views
There are several filter and view options, so finding and organizing files is easy.
Search - Search by filename, keyword or description.
Filter Type - Select Any or one file type to display at a time. Only file types that exist in the DAM will appear as an option You can choose pptx, potx, docx, dotx, pdf, xlsx, and keynote formats.
Filter Collection - Select one collection to display at a time from your existing collection list.
Filter Source - Select one source at a time. You can choose between All, Uploaded or any integration you have imported from (Microsoft 365 or Dropbox)
Filter Uploaded By - If you have multiple admins, you can sort by which admin has uploaded files to Pickit.
Sort by - Allows you to organize the order of files by Name A-Z, Name Z-A, Newest first or Oldest first.
You can use multiple filters and one sort by view at the same time.
Creating Collections
A Collection is a folder or album type environment. Typically documents in a collection share a common theme or concept. There are two ways to create collections. You can create a collection following the steps outlined above in Publishing, or create a collection from the Documents home screen mentioned in First Look. To get back to this home screen just click the Documents option on the taskbar on the left side of the screen.
On the right side of the screen, select Create collection. Now name your collection, select sharing permissions for your collection, upload a thumbnail image for the collection and press the pink Create collection button
At first, the collection will be blank. There are two options for adding documents:
Option 1- Simply select a document and drag and drop it into a collection. A pink folder under Shared will indicate the collection(s) that a document is in. Hover the pink folder to quickly see the list.
Option 2 - You can select the three dots next to a document and a dropdown of options will appear. From here, select Edit and you'll be sent to the Publishing viewing. Click the drop-down menu under Add document to document collection, and you will see all existing collections. Select one and press Save changes. A pink folder under Shared will indicate the collection(s) that a document is in. Hover the pink folder to quickly see the list.
To change the order of collection, go to the right side of the screen where you see all of your collections and select the Rearrange collections button. Simply drag and drop. You can also check the box to promote a collection as the Hero Collection.
Sharing
Now that you have content in your asset library, you can decide who has access. Please note that only Admins determine the sharing permissions and you can change these permissions at any time.
Share to
For internal sharing permissions, we provide three different tiers: All users, Specific users, and Admins only.
All users is as simple as it sounds, it gives access to every user.
If a document has different sharing permissions than the collection it's in, it will assume the permissions of the collection. A notification will appear on the screen when this occurs.
Specific users allows you to segment your DAM so that every user can see the most relevant content for them. You can select specific users by email address or use Azure Active Directory Groups to select a group with one click. Only the users selected will see this content on the web and in the add-in.
Admins only provides access to admins. You might opt in to use this setting while you are in the process of uploading content and adding metadata. No users will see content set to Don't Share on the web or in the add-in.
Select contributors
Admins can assign contributor access to users on a collection basis. This will allow a user to upload files to that specific collection.
External access
We also allow you to share documents collections outside of your organization. Here we have three different options: External users, Allow members to invite external users to this collection, and Allow weblink.
Share to external users prompts you to enter an email address for a person you'd like to provide collection access to. They'll receive an email from Pickit with the request to create a password to privately access the secure collection.
Allow members to invite external users to this collection allows all users to follow the steps outlined in the External users section. This can only be activated by admins.
Allow anonymous users to access this collection provides a public access weblink, so anyone who sees this link will be able to view the collections.
Social Media icons appear as an option when sharing from the add-in. Click an icon to share a collection to Facebook, LinkedIn or Twitter.
Import
For the Documents feature we have direct integrations available with Microsoft 365, Box, Dropbox, Google Drive, and Adobe Creative Cloud. Here you will also be prompted to login to your respective accounts to get integration access.
The Microsoft 365 integration allows you to connect to your SharePoint, Teams and OneDrive environments to easily search for, import individual files and/or sync folders with Pickit. Similarly, we allow you to connect Box, Dropbox, Google Drive and Adobe Creative Cloud to search for and import individual files or folders. For more information, please visit the Integrations for Admins Guide.
Export
You can export files out of Pickit directly into Microsoft 365, Dropbox and HubSpot. Start by selecting which environment to connect to. With each connection, you can select collections or individual files to export from Pickit back to your Microsoft 365, Dropbox or HubSpot environment. Before exporting, just review file types and configure the export to occur once or reoccur daily.
End User Experience
Users will be able to access Documents both on the web at app.pickit.com and in the add-in. Users can use the search feature to find a document or browse the collections and stand-alone files.
Documents will display a thumbnail that you can click. This will allow you to view Details (Size, Description, Country, Author, Upload Date, Document Type, Version, and Tags) and Previews that have been populated by an admin. From here you can choose to Open or Download your selected document. We also allow users to Save documents to their own personal collections for quick access.