
Logging In
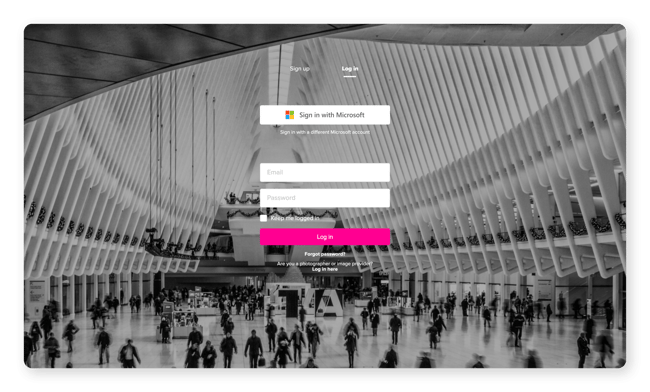
Administrators must log in to the online version of Pickit to manage Guidelines. You can log in using your email/password credentials or single sign-on at app.pickit.com.
Once signed in, you will see the Public facing view of the DAM that end-users will also have access to. From here, only administrators can see the button that says Admin Mode. Click here.
Now you'll be on the home page for Content Administration and see a list of the core features including Guidelines.
First Look
The navigation bar on the left side of the screen can be expanded or minimized with the arrow icon at the top. When expanded you will see Home, Web app Mode, Media, Documents, Guidelines, Insights, Image Rights, Users and More. This guide focuses on the Guidelines section. Please reference our product guides page to learn more about the other features.
Guidelines is a feature that allows admins to distribute a short version of a brand guide inside Pickit for easy end-user access. After selecting Guidelines from the Content Administration interface, you'll see two view options at the top of the screen: Company Guidelines and Samples.
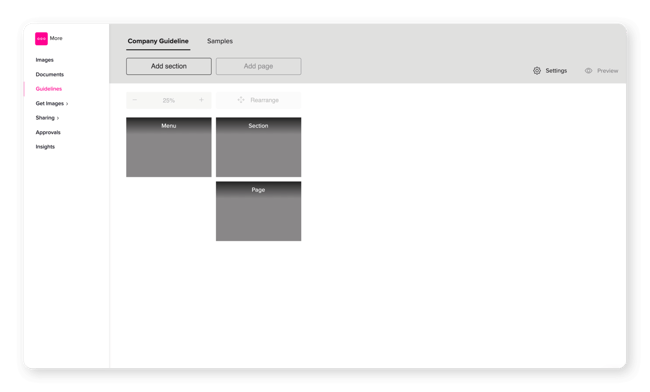
Company Guidelines displays the guidelines structure where you can upload your own brand guide images. The three categories in this structure are Menu, Section and Page.
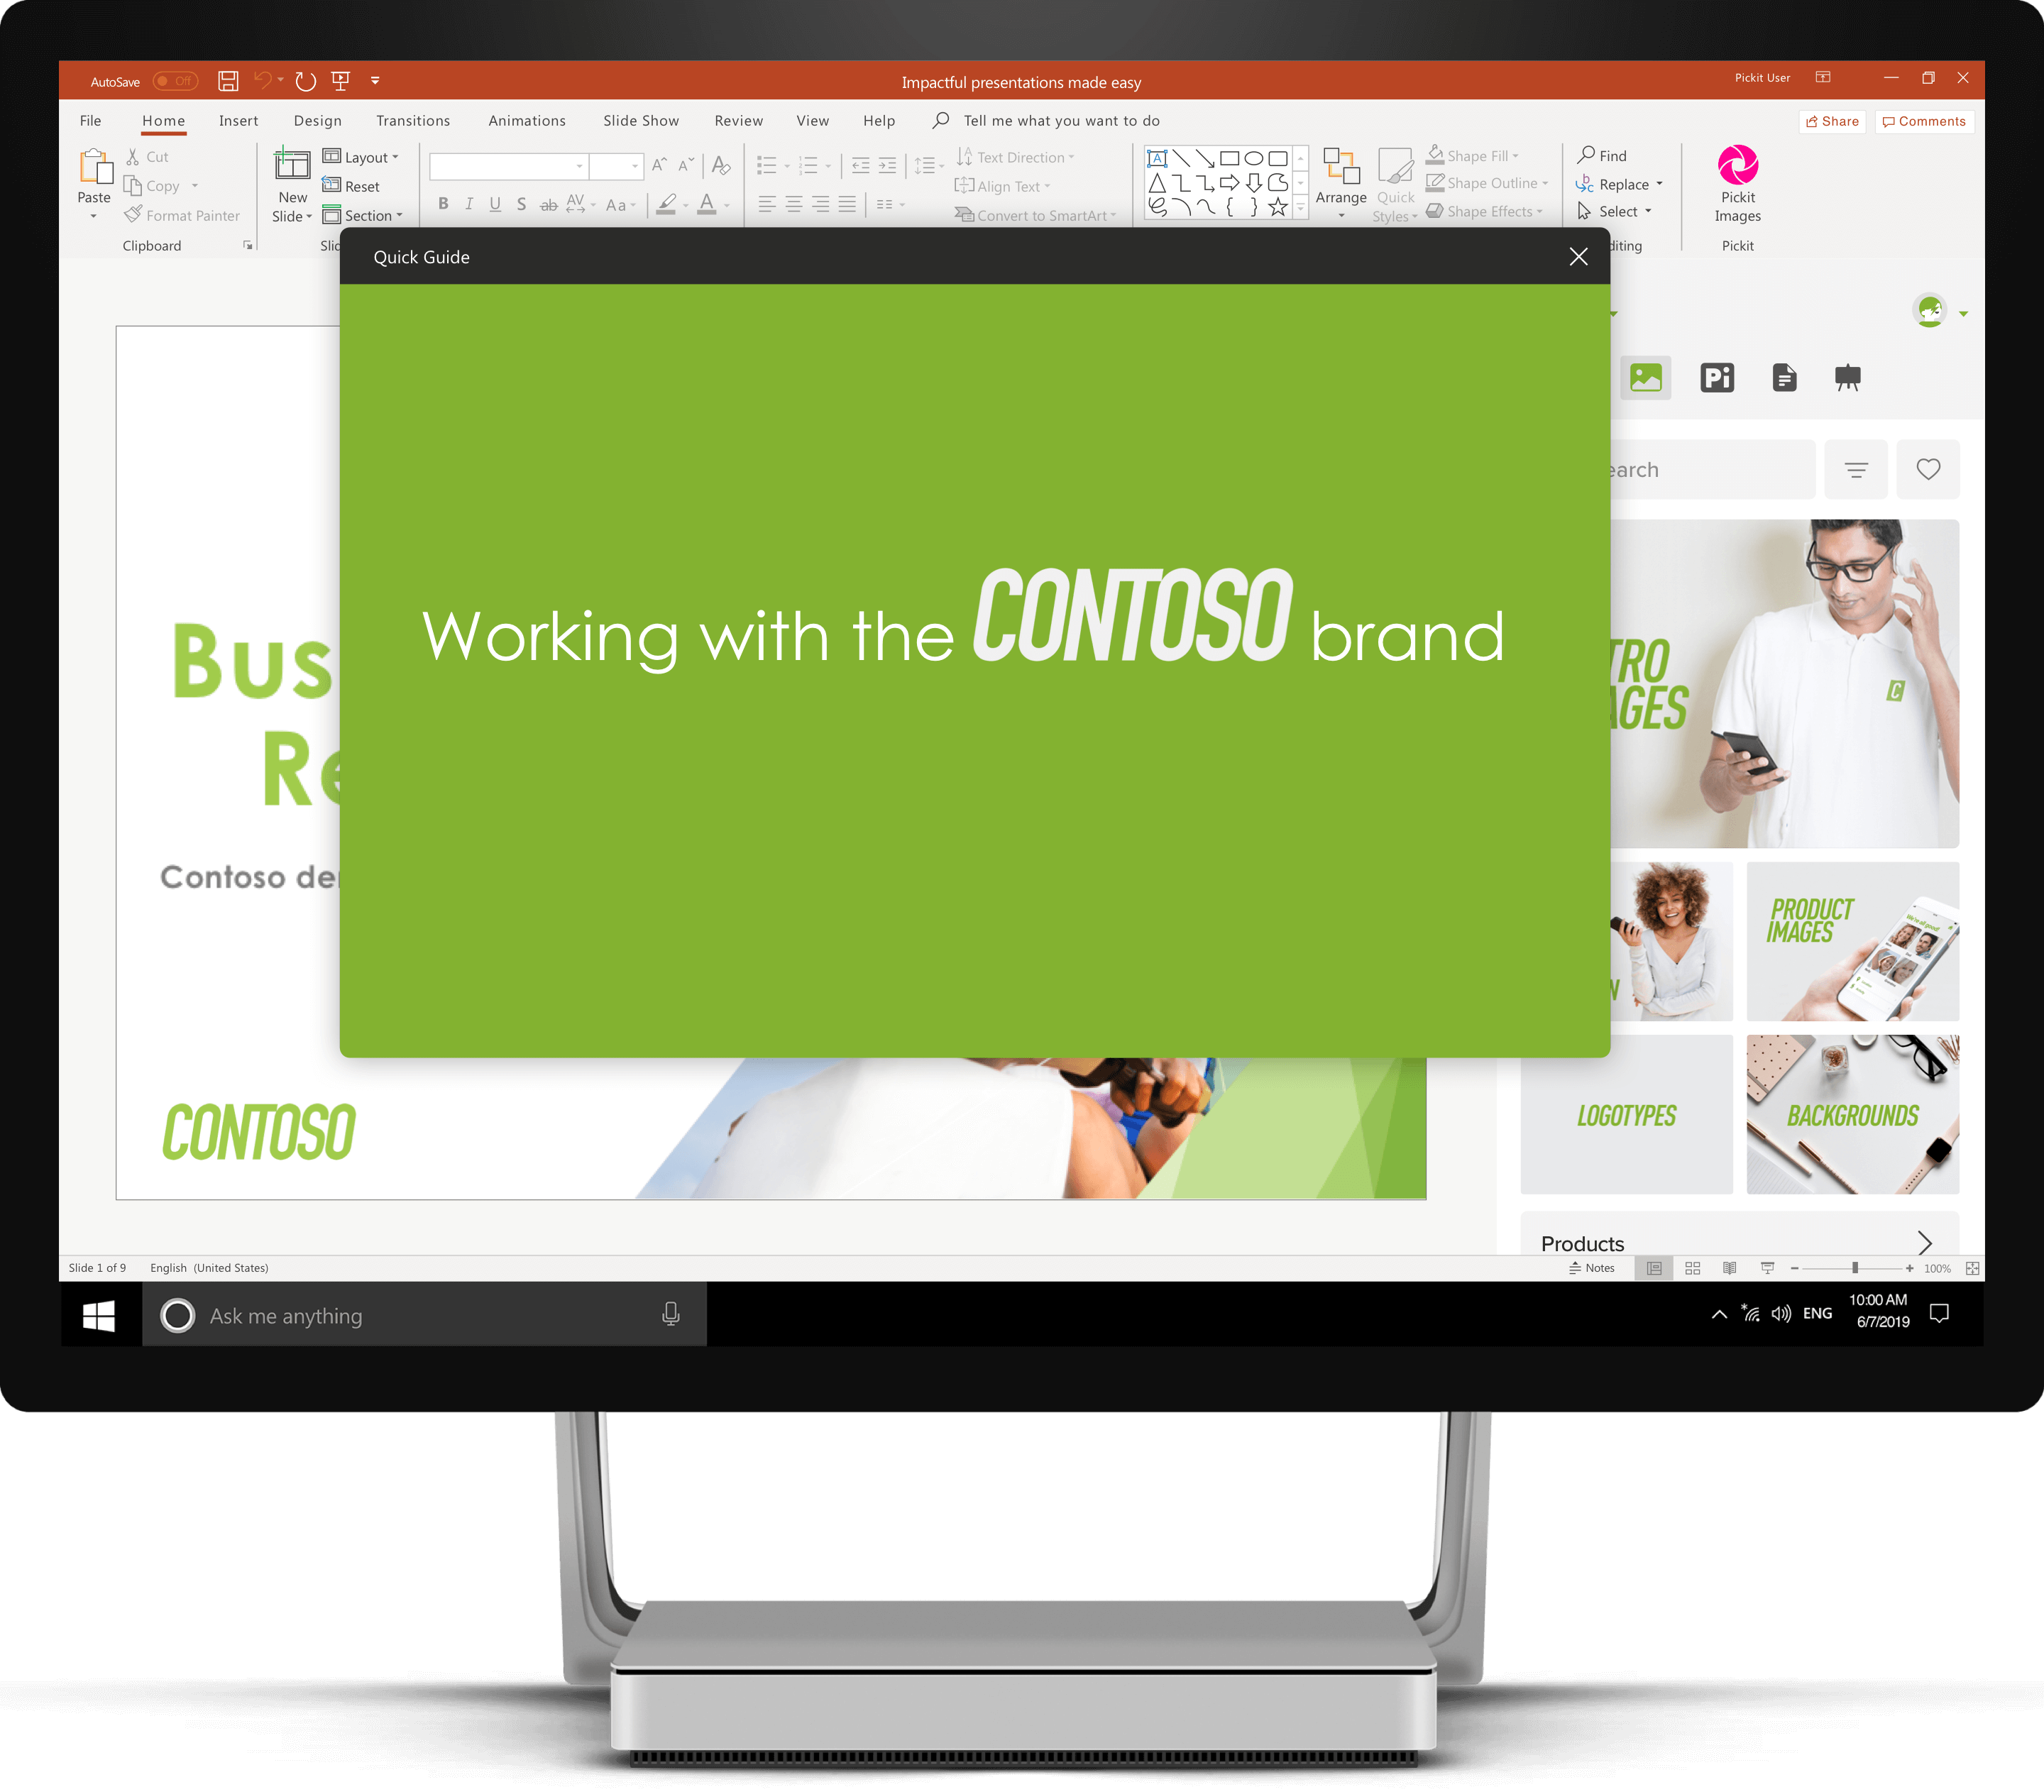
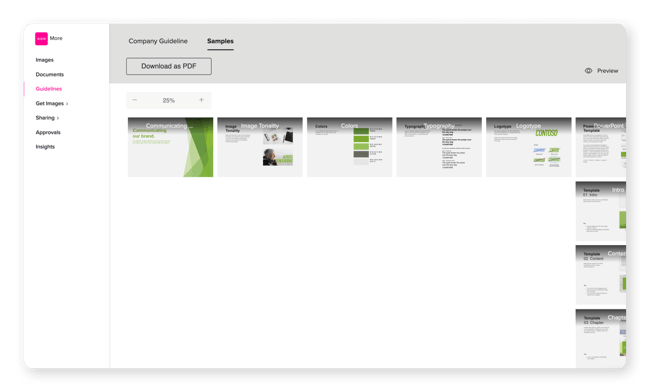
Samples displays how a demo company called Contoso uses Guidelines to communicate with their employees how to work with their brand fonts, colors, logos, templates, etc. You can explore this sample to gather ideas and inspiration for how to work with your own brand guide.
Using Guidelines
On the left side of the screen, you'll see Add section and Add page. You must first create a section by clicking the Add section button. A new window will pop up where you'll be prompted to add a title and upload a section image. You'll also have the option to add a link to this section. Now that you have a section, the Menu will automatically populate this information. Next, you can either create an additional section following the same process or add a page within the section.
To add a page, click the Add page button. A new window will pop up where you'll be prompted to select what section this page belongs to, add a title and upload a page image. You'll also have the option to add a link to this section.
If you'd like to rearrange your sections and pages, click the Rearrange button. This will allow you to drag and drop both sections and pages into a different arrangement. The menu will automatically update based on any changes you make.
On the right side of the screen, you'll see Publish, Settings and Preview. Settings allows you to select and change colors for Links, Menu background, Menu text and Navigation, so you can align the colors of Guidelines with your branding.
If you want to see how Guidelines will look for end-users on the web and in the add-in click on Preview. This will launch a new window you can navigate by clicking the arrows on the screen or by using arrows on your keyboard.
When you are ready to publish Guidelines, click on the Publish toggle so it appears pink. Now all the users in your Pickit community can view Guidelines.
End-User Experience
Users will be able to access Guidelines both on the web at app.pickit.com and in the add-in. In either location, they can navigate to Guidelines icon. This will launch a new window they can navigate by clicking the arrows on the screen or by using arrows on their keyboard.
Reference
Pickit uses some terminology that might be new to you, so we put together a reference of terms and definitions.
Add-in – Can also be referred to as an app or plug-in for Office. When using Pickit in PowerPoint, Word, and Teams you will be using the add-in interface.
Admin – A Pickit admin can upload files (image, video, audio, document), invite users, style the DAM and assign user permissions on the web. We do not limit the amount of admins per account.
Collections – All files (image, video, audio, document) visible by end users must live in a folder or album type environment that we call collections. Typically images in a collection share a common theme or concept
Collection Group – This is an organization system where you can easily group together multiple collections that share a common theme or concept.
Curation – The process of styling and organizing your DAM for a strong visual impact.
Documents – A feature accessible by Pickit admins on the web that allows you to upload and organize documents in pptx, potx, docx, dotx, pdf, xlsx and key formats. End users will be able to access documents both on the web and with the Pickit add-in.
Featured Collections – Collections can be promoted into a more visible location of the image bank. Featured collections appear near the top of the add-in with square-shaped thumbnails. You can select from sizes Large, Medium or Small.
Guidelines – A feature that allows admins to distribute a short version of a brand guide for easy end-user access.
Media – A private and secure Azure-based DAM where admins can upload and share internal images, videos and audio files.
Owner – When Pickit creates a DAM we need to assign an Owner, which is just the original Admin for the DAM. You have the exact same rights as any other admin.
Pickit Curator –You have the option to activate a Pickit Curator. When activated, this allows a Pickit employee to log in to your asset bank for curation assistance and support.
Pickit Stock – A database of over 1 million royalty-free images that are licensed to use for anything without restrictions. Each image has been handpicked by a team of image professionals at Pickit. Admins can allow users to see Pickit Images or disable access.