

Intro to Integrations
Pickit connects seamlessly with the world's most-used cloud storage solutions, stock image providers, programs and ecosystems. Add Pickit to your tech stack and integrate effortlessly with the tools you're already using. Current integrations can be found and connected within both Media and Documents.
Media integrations include Shutterstock, Getty Images, Adobe Stock, Microsoft 365, Box , Google Drive and Adobe Creative Cloud.
Documents integrations include Microsoft 365, Box, Dropbox, Google Drive, and Adobe Creative Cloud.
Logging In
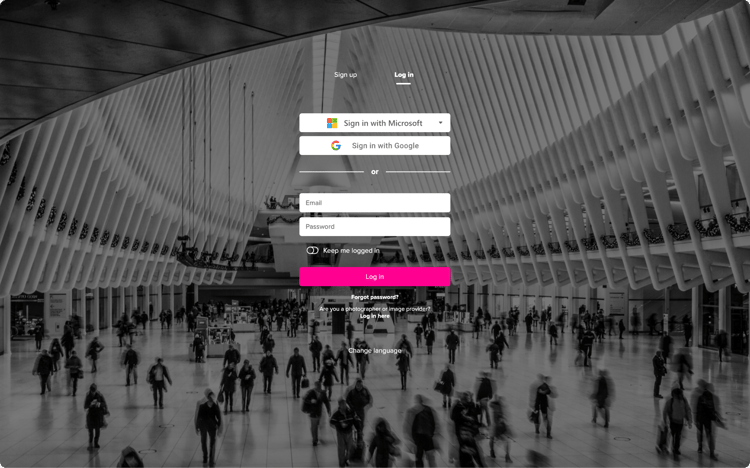
Administrators must log in to the online version of Pickit to manage integrations. You can log in using your email/password credentials or single sign-on at app.pickit.com.
Once signed in, you will see the Public facing view of the DAM that end-users will also have access to. From here, only administrators can see the button that says Admin Mode. Click here.
Now you'll be on the home page for Content Administration and see a list of the core features. Integrations are available within Media and Documents.
Media Markets
How to Start
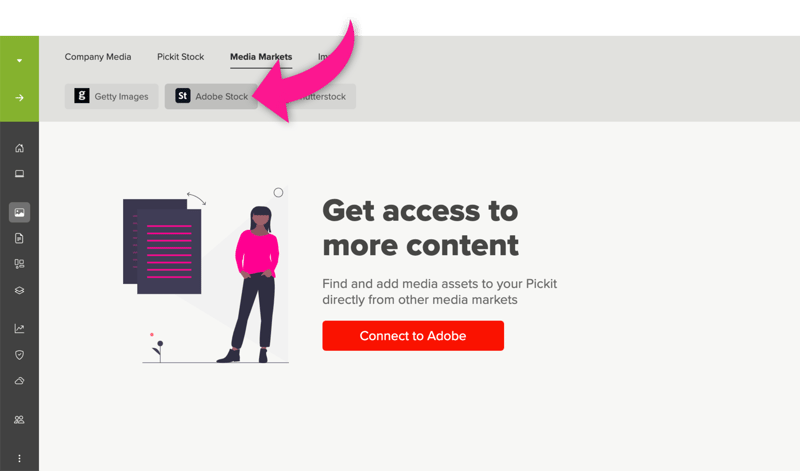
In the Media section of Pickit, you will find integration options within Media Markets and Import. When you select Media Markets the options to connect with Getty Images, Adobe Stock, Shutterstock will appear.
Reminder: the Media section allows you to upload image, video and audio files in the following formats: .ai, audio, .eps, .psd, .tif, .jpg, .gif, .png, .svg, .mp3 and .mp4.
Shutterstock
You can connect Pickit directly to your Shutterstock account to easily import, manage and distribute your Shutterstock images right alongside your other media in Pickit.
Start by clicking the Connect to Shutterstock button. The screen will prompt you to login with your Shutterstock account credentials and approve the connection to Pickit. Now that the connection is complete, you'll see Your Shutterstock Images History and Search Shutterstock Images. You can add individual images from Shutterstock into your own library stored in Media or add them directly to your collections. To save images to your Media bank, just click the cloud icon. To add to images to collection, simply drag and drop files from the left side of the screen into the collection. When you add a Shutterstock image file directly to a collection, the file will also automatically save to your Media view.
You'll not be charged by Shutterstock for importing your existing Shutterstock Image History into Pickit. You'll only be charged by Shutterstock when you save a new image from Search Shutterstock Images.
Getty Images
You can connect Pickit directly to your Premium Getty Account to easily import, manage and distribute your Getty Images right alongside your other media in Pickit.
Start by clicking the Connect to Getty Images button. The screen will prompt you to follow a 3-step process. Here you must enter your API Key and API Secret to connect the two systems. If you need help finding the API information, please reference this Getty Images article. You'll also have the option to enter a maximum number downloads per month.
Now that the connection is complete, you'll see Your Getty Images History and Search Getty Images. You can add individual images from Getty Images into your own library in Company Media or add them directly to your collections. To save images to your Media, click the cloud icon. To add to images to collection, simply drag and drop files from the left side of the screen into the collection. When you add a Getty Image file directly to a collection, the file will also automatically save to your Media view. You'll not be charged by Getty for importing your existing Getty Image History into Pickit. You'll only be charged by Getty when you save a new image from Search Getty Images.
Adobe Stock
You can connect Pickit directly to your Adobe Stock Account to easily import, manage and distribute your Adobe images right alongside your other media in Pickit.
Start by clicking the Connect to Adobe Stock button. The screen will prompt you to login with your Adobe Stock account credentials and approve the connection to Pickit. Now that the connection is complete, you'll see Your Adobe Stock Images History and Search Adobe Stock Images. You can add individual images from Adobe Stock into your own library stored in Media or add them directly to your collections. To save images to your Media bank, just click the cloud icon. To add to images to collection, simply drag and drop files from the left side of the screen into the collection. When you add a Adobe Stock image file directly to a collection, the file will also automatically save to your Media view.
You'll not be charged by Adobe for importing your existing Adobe Stock Image History into Pickit. You'll only be charged by Adobe when you save a new image from Search Adobe Stock Images.
Media Import
How to Start
In the Media section of Pickit, you will find integration options within Media Markets and Import. When you select Import the options to connect with Microsoft 365, Box, Dropbox , Google Drive and Adobe Creative Cloud will appear.
Microsoft 365
You can connect Pickit directly to your SharePoint, Teams and OneDrive environments to easily search for and import individual files and/or sync folders with Pickit.
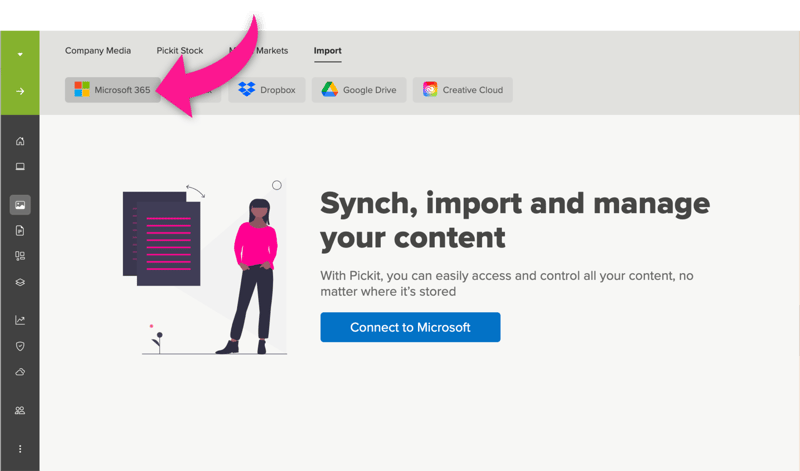
Start by clicking the Connect to Microsoft button. The screen will prompt you to login with your Microsoft 365 account credentials. Once you're logged in, you'll be able to access and Search all libraries, Browse recent files, Browse by source or view Imported assets. If you'd like to specifically browse within SharePoint, Teams or OneDrive, select Browse by source and choose your preferred source.
Begin the import process by clicking on the Import button for a file or folder. When importing a folder, you can select whether you'd like to import either media or documents, or import both media and documents. You'll also get an option to import directly to a collection or to your library. Finally, you can choose between a one-time sync, which has to be updated manually in order to update new content into it, or an everyday sync. If you select the everyday sync option, all the new files that are uploaded to the imported folder will also be imported daily to Pickit. If there have been any changes to a file, Pickit will replace them with the newly updated version. Under connected folders, you can see all of your active synced jobs, and you can even choose if you would like to disconnect any of them.
Important note: Pickit doesn't delete files that have been deleted in SharePoint, Teams and OneDrive; it only adds the new updated/content.
Box
You can connect Pickit directly to your Box account and easily import and distribute your Box files. Start by clicking the Connect to Box button. The screen will prompt you to login with your Box account credentials. Once you're logged in, you'll be able to access and browse an overview of your folders or directly search for a specific file or folder.
Begin to import by clicking on the Import file or Import folder button after hovering on the file/folder. From there, select whether you'd like to import either media or documents, or import both media and documents. You'll also get an option to import directly to a collection to have a better overview of what you've imported.
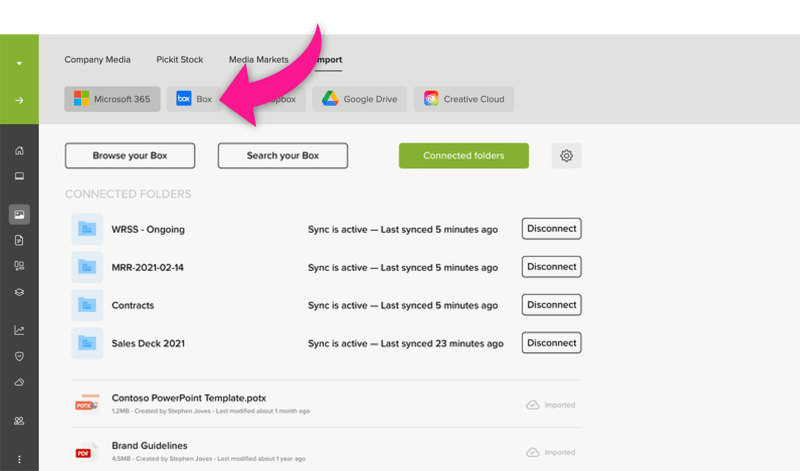
Finally, you can choose between a one-time sync, which has to be updated manually in order to update new content into it, or an everyday sync. If you select the everyday sync option, all the new files that are uploaded to the imported folder will also be imported daily to Pickit. If there have been any changes to a file, Pickit will replace them with the newly updated version. Under connected folders, you can see all of your active synced jobs, and you can even choose if you would like to disconnect any of them.
Read more about the benefits of connecting Pickit and Box.
Important note: Pickit doesn't delete files that have been deleted in Box; it only adds the new updated/content.
Dropbox
You can connect Pickit directly to your Dropbox account and easily import and distribute your Dropbox files. Start by clicking the Connect to Dropbox button. The screen will prompt you to login with your Dropbox account credentials. Once you're logged in, you'll be able to access and browse an overview of your folders or directly search for a specific file or folder.
Begin to import by clicking on the Import file or Import folder button after hovering on the file/folder. From there, select whether you'd like to import either media or documents, or import both media and documents. You'll also get an option to import directly to a collection to have a better overview of what you've imported.
You can choose to sync folders Media/Documents, Library/Collection, New/Existing Collection and Daily/Manual, between a one-time sync, which has to be updated manually in order to update new content into it, or an everyday sync. If you select the everyday sync option, all the new files that are uploaded to the imported folder will also be imported daily to Pickit. If there have been any changes to a file, Pickit will replace them with the newly updated version. Under connected folders, you can see all of your active synced jobs, and you can even choose if you would like to disconnect any of them.
Latest Dropbox settings:
Approval required (If Approvals is activated only):
Sends all the imported files through the Approvals flow and requires an admin to approve them before they are visible for end-users.
Nested folders: Enabling Nested folders checks all folders within your current folder, calculate how many files there are, and allows you to import all of the content up to a maximum of 5000 files per sync job. If exceeded, we recommend splitting the job into multiple jobs.
External File: This allows the toggle to import the file's metadata to Pickit, keeping the source file at Dropbox. It requires users to have access to Dropbox to get the original file. Smaller versions from the file might be available depending on the format.
Seamless download: As an addition to the External file, Seamless download generates the file to be accessible for anyone without accessing the required Dropbox account.
Important note: Pickit doesn't delete files that have been deleted in Dropbox; it only adds the new updated/content.
Read more about the benefits of connecting Pickit and Dropbox.
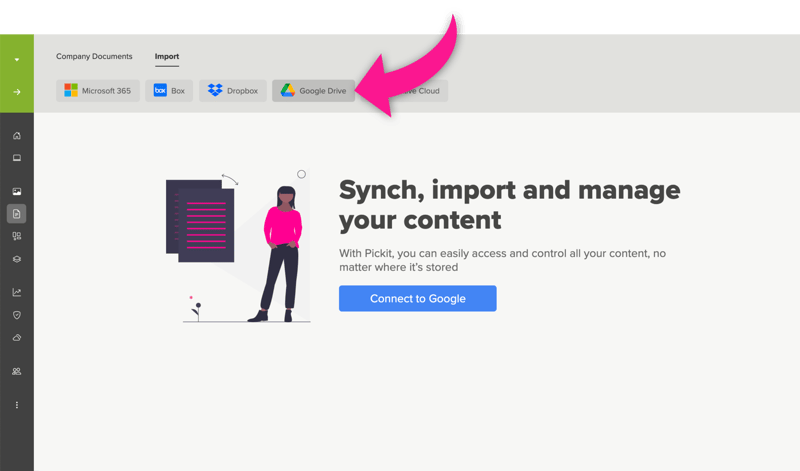
Google Drive
You can connect Pickit directly to your Google Drive account and easily import and distribute files stored on Google Drive. Start by clicking the Connect to Google button. The screen will first prompt you to login with your Google account credentials. You will then be prompted to select what Pickit is allowed to access. Once you've allowed access and logged in, you'll be able to browse, search and import both files and folders.
Begin to import by clicking on the Import file or Import folder button after hovering on the file/folder. From there, select whether you'd like to import either media or documents, or import both media and documents. You'll also get an option to import directly to a collection to have a better overview of what you've imported.
Finally, you can choose between a one-time sync, which has to be updated manually in order to update new content into it, or an everyday sync. If you select the everyday sync option, all the new files that are uploaded to the imported folder will also be imported daily to Pickit. If there have been any changes to a file, Pickit will replace them with the newly updated version. Under connected folders, you can see all of your active synced jobs, and you can even choose if you would like to disconnect any of them.
Important note: Pickit doesn't delete files that have been deleted in Google Drive; it only adds the new updated/content.
Adobe Creative Cloud
You can connect Pickit directly to your Adobe Creative Cloud account and easily import and distribute your files. Go to Admin Mode in the web app, and then to Media or Documents. Navigate to Import at the top of the page and select Creative Cloud.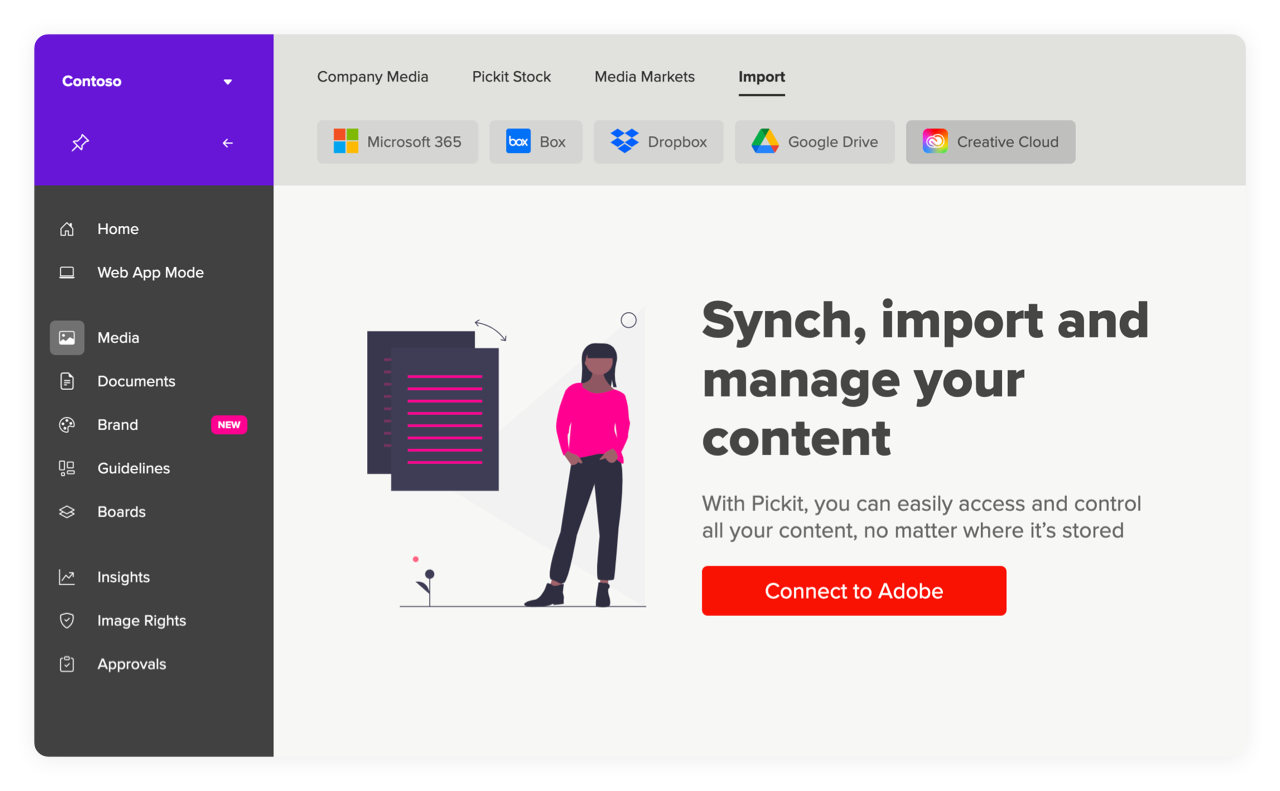
After you have connected your account, you will see all your libraries in Creative Cloud. Begin importing your content by clicking on Import Library.
From there, select which file type you would like to import. You'll also get an option to import directly to a collection to have a better overview of what you've imported.
Finally, you can choose between a one-time sync, which has to be updated manually in order to update new content into it, or an everyday sync. If you select the everyday sync option, all the new files that are uploaded to the imported folder will also be imported daily to Pickit. If there have been any changes to a file, Pickit will replace them with the newly updated version. Under connected folders, you can see all of your active synced jobs, here you can remove your synced assets and disconnect any of them.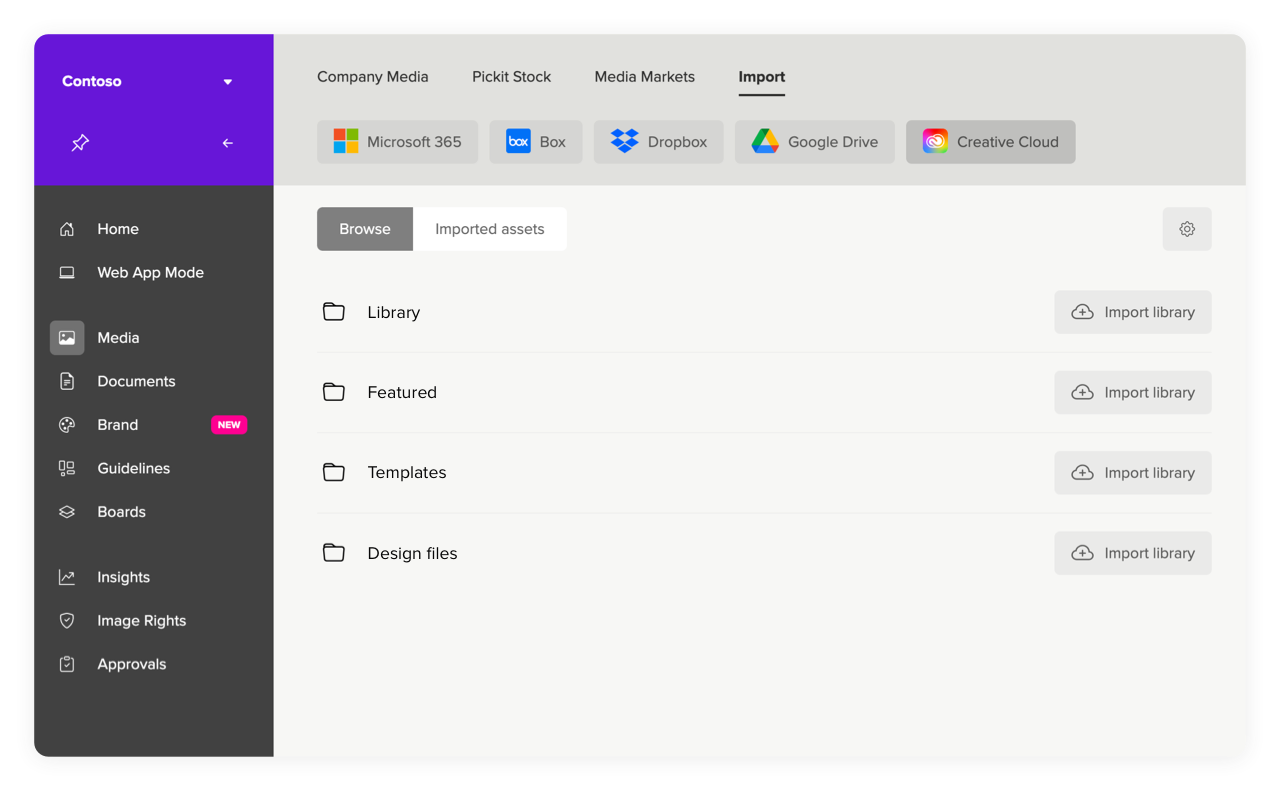
Media Export
You can export files out of Pickit directly into Microsoft 365, Dropbox and HubSpot. Start by selecting which environment to connect to. With each connection, you can select collections or individual files to export from Pickit back to your Microsoft 365, Dropbox or HubSpot environment. Before exporting, just review file types and configure the export to occur once or reoccur daily.
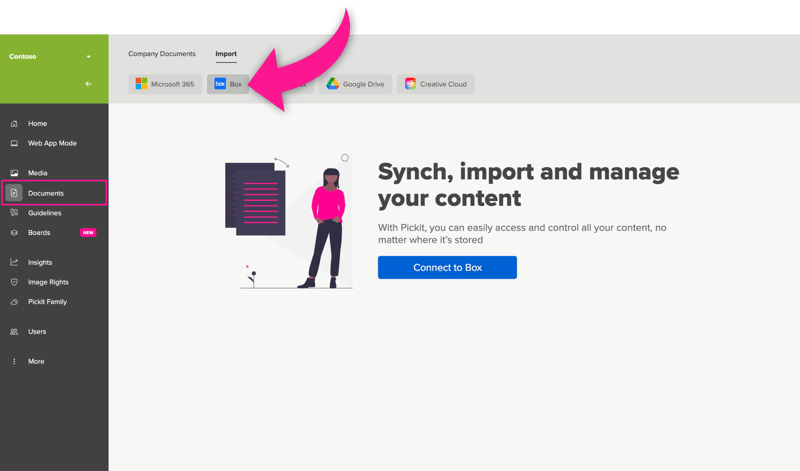
Documents Import
How to Start
In the Media section of Pickit, you will find integration options within Import. When you select Import the options to connect with Microsoft 365, Box and Dropbox, Google Drive and Adobe Creative Cloud will appear. will appear.
Reminder: the Documents section allows you to upload files in the following formats: pptx, potx, docx, dotx, pdf, xlsx, and keynote.
Microsoft 365 Import
You can connect Pickit directly to your SharePoint, Teams and OneDrive environments to easily search for and import individual files and/or sync folders with Pickit.
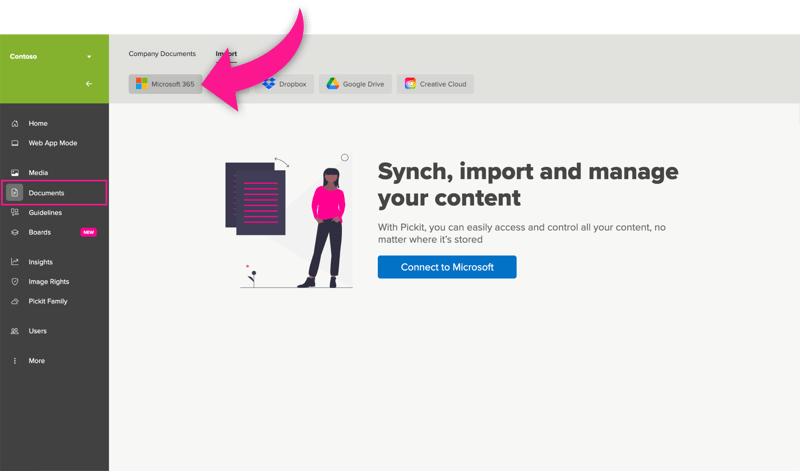
Start by clicking the Connect to Microsoft button. The screen will prompt you to login with your Microsoft 365 account credentials. Once you're logged in, you'll be able to access and Search all libraries, Browse recent files, Browse by source or view Imported assets. If you'd like to specifically browse within SharePoint, Teams or OneDrive, select Browse by source and choose your preferred source.
Begin the import process by clicking on the Import button for a file or folder. When importing a folder, you can select whether you'd like to import either media or documents, or import both media and documents. You'll also get an option to import directly to a collection or to your library. Finally, you can choose between a one-time sync, which has to be updated manually in order to update new content into it, or an everyday sync. If you select the everyday sync option, all the new files that are uploaded to the imported folder will also be imported daily to Pickit. If there have been any changes to a file, Pickit will replace them with the newly updated version. Under connected folders, you can see all of your active synced jobs, and you can even choose if you would like to disconnect any of them.
Important note: Pickit doesn't delete files that have been deleted in SharePoint, Teams and OneDrive; it only adds the new updated/content.
Box Import
You can connect Pickit directly to your Box account and easily import and distribute your Box files. Start by clicking the Connect to Box button. The screen will prompt you to login with your Box account credentials. Once you're logged in, you'll be able to access and browse an overview of your folders or directly search for a specific file or folder.
Begin to import by clicking on the Import file or Import folder button after hovering on the file/folder. From there, select whether you'd like to import either media or documents, or import both media and documents. You'll also get an option to import directly to a collection to have a better overview of what you've imported.
Finally, you can choose between a one-time sync, which has to be updated manually in order to update new content into it, or an everyday sync. If you select the everyday sync option, all the new files that are uploaded to the imported folder will also be imported daily to Pickit. If there have been any changes to a file, Pickit will replace them with the newly updated version. Under conne
cted folders, you can see all of your active synced jobs, and you can even choose if you would like to disconnect any of them.
Not keen on fully importing your Dropbox content into Pickit for storage? We now also have an import option where you can import the file metadata into Pickit but the storage remains in Dropbox, giving you more flexibility with Pickit storage. Read more about the benefits of connecting Pickit and Box here.
Important note: Pickit doesn't delete files that have been deleted in Box; it only adds the new updated/content.
Dropbox Import
You can connect Pickit directly to your Dropbox account and easily import and distribute your Dropbox files. Start by clicking the Connect to Dropbox button. The screen will prompt you to login with your Dropbox account credentials. Once you're logged in, you'll be able to access and browse an overview of your folders or directly search for a specific file or folder.

Begin to import by clicking on the Import file or Import folder button after hovering on the file/folder. From there, select whether you'd like to import either media or documents, or import both media and documents. You'll also get an option to import directly to a collection to have a better overview of what you've imported.
You can choose to sync folders Media/Documents, Library/Collection, New/Existing Collection and Daily/Manual, between a one-time sync, which has to be updated manually in order to update new content into it, or an everyday sync. If you select the everyday sync option, all the new files that are uploaded to the imported folder will also be imported daily to Pickit. If there have been any changes to a file, Pickit will replace them with the newly updated version. Under connected folders, you can see all of your active synced jobs, and you can even choose if you would like to disconnect any of them.
Latest Dropbox settings:
Approval required (If Approvals is activated only):
Sends all the imported files through the Approvals flow and requires an admin to approve them before they are visible for end-users.
Nested folders: Enabling Nested folders checks all folders within your current folder, calculate how many files there are, and allows you to import all of the content up to a maximum of 5000 files per sync job. If exceeded, we recommend splitting the job into multiple jobs.
External File: This allows the toggle to import the file's metadata to Pickit, keeping the source file at Dropbox. It requires users to have access to Dropbox to get the original file. Smaller versions from the file might be available depending on the format.
Seamless download: As an addition to the External file, Seamless download generates the file to be accessible for anyone without accessing the required Dropbox account.
Important note: Pickit doesn't delete files that have been deleted in Dropbox; it only adds the new updated/content.
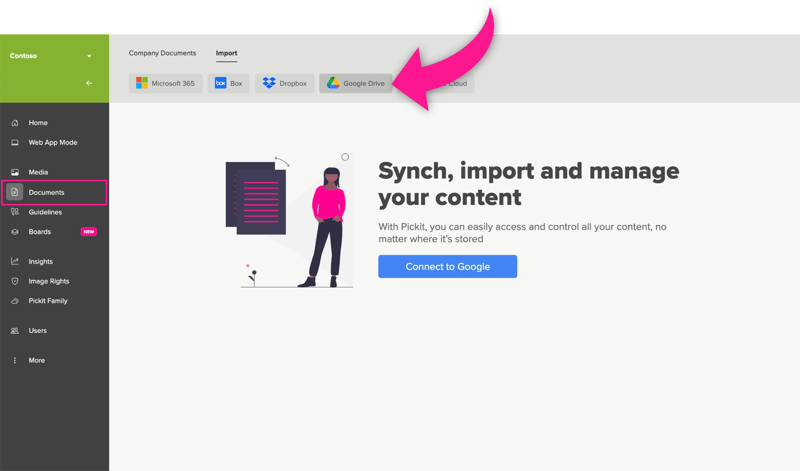
Google Drive Import
You can connect Pickit directly to your Google Drive account and easily import and distribute files stored on Google Drive. Start by clicking the Connect to Google button. The screen will first prompt you to login with your Google account credentials. You will then be prompted to select what Pickit is allowed to access. Once you've allowed access and logged in, you'll be able to browse, search and import both files and folders.
Begin to import by clicking on the Import file or Import folder button after hovering on the file/folder. From there, select whether you'd like to import either media or documents, or import both media and documents. You'll also get an option to import directly to a collection to have a better overview of what you've imported.
Finally, you can choose between a one-time sync, which has to be updated manually in order to update new content into it, or an everyday sync. If you select the everyday sync option, all the new files that are uploaded to the imported folder will also be imported daily to Pickit. If there have been any changes to a file, Pickit will replace them with the newly updated version. Under connected folders, you can see all of your active synced jobs, and you can even choose if you would like to disconnect any of them.
Important note: Pickit doesn't delete files that have been deleted in Google Drive; it only adds the new updated/content.
Read more about the benefits of connecting Pickit and Dropbox here.
Documents Export
You can export files out of Pickit directly into Microsoft 365, Dropbox and HubSpot. Start by selecting which environment to connect to. With each connection, you can select collections or individual files to export from Pickit back to your Microsoft 365, Dropbox or HubSpot environment. Before exporting, just review file types and configure the export to occur once or reoccur daily.
Microsoft 365 Export
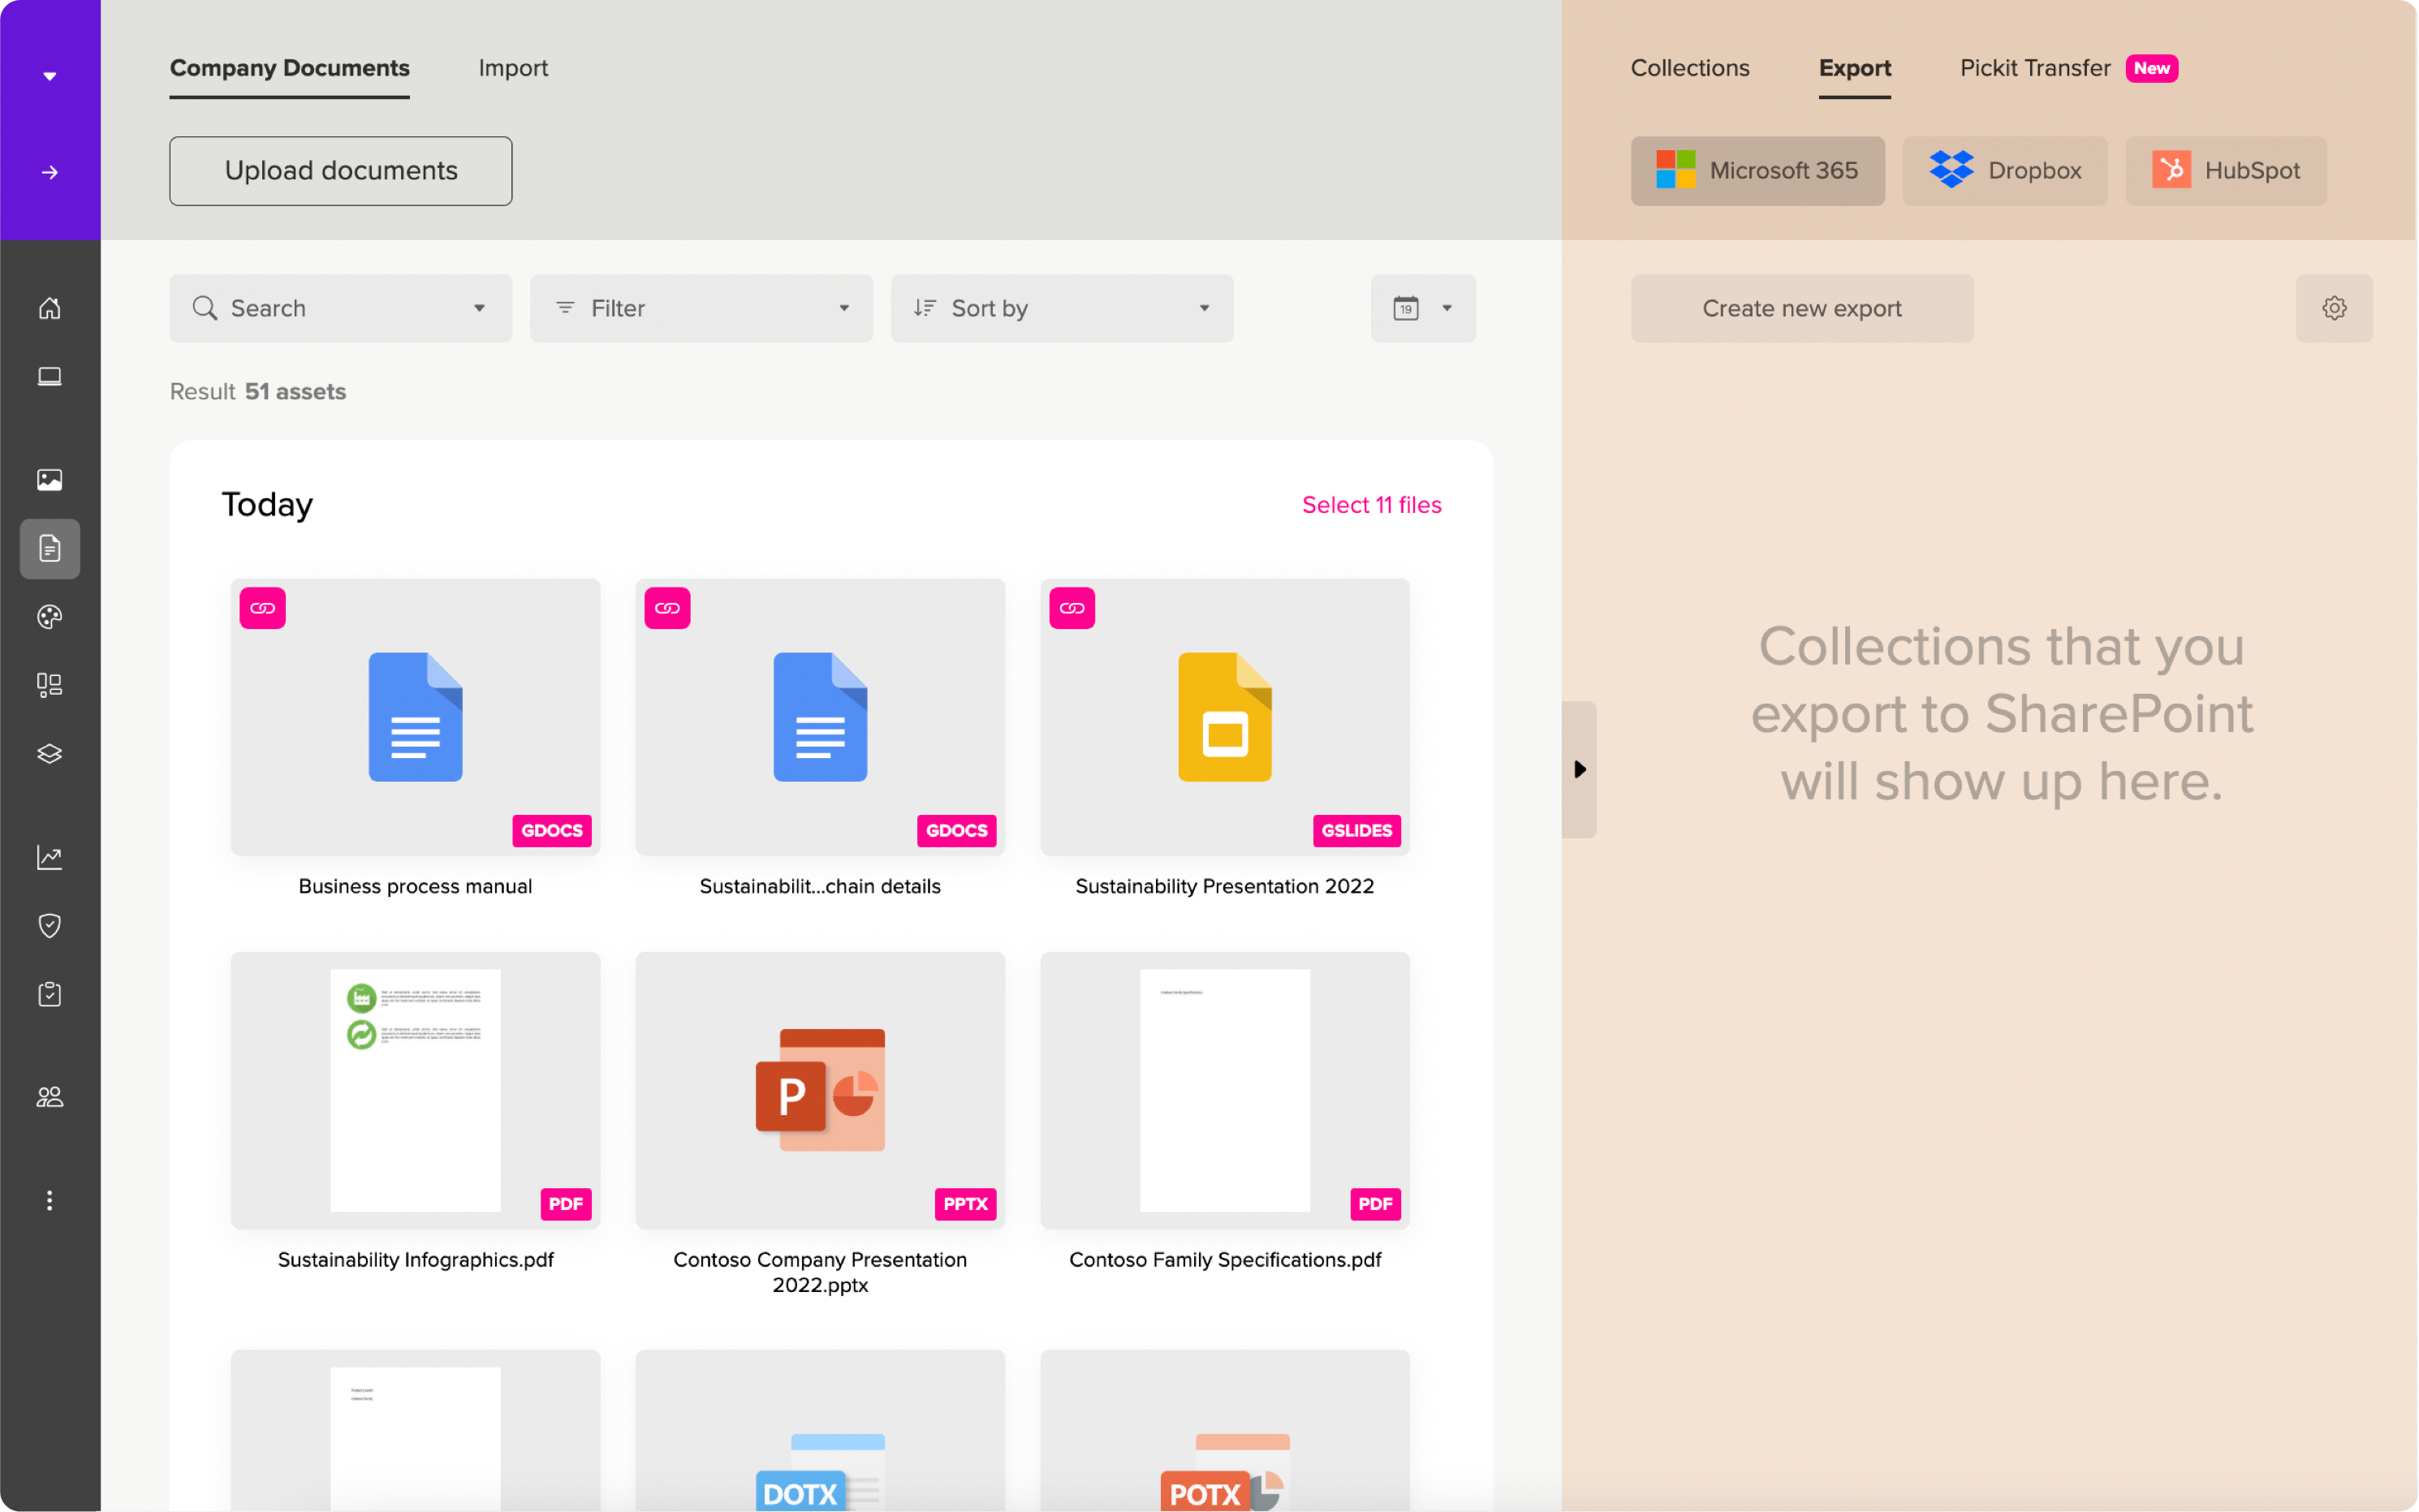
Admins and users export collections of documents to a library or specific folders in SharePoint and Teams.
Go to the Documents tab of Pickit's Content Administration Tool to start an export. The Export tab is located in the menu up on the right side of your screen, from where you select Microsoft 365 and Create a new export. On the Export Pickit collections to Microsoft 365 window, first, you need to Select Library > Select destination > Sharepoint or Teams > select the specific folder > Next > Select Collections > Next > Review file types > Next > Configure export > Name your export > select Occurrence: Daily or Once > Create sync and begin the export.
The export will appear listed on the right side of the screen under the Microsoft 365 tab.
Dropbox Export
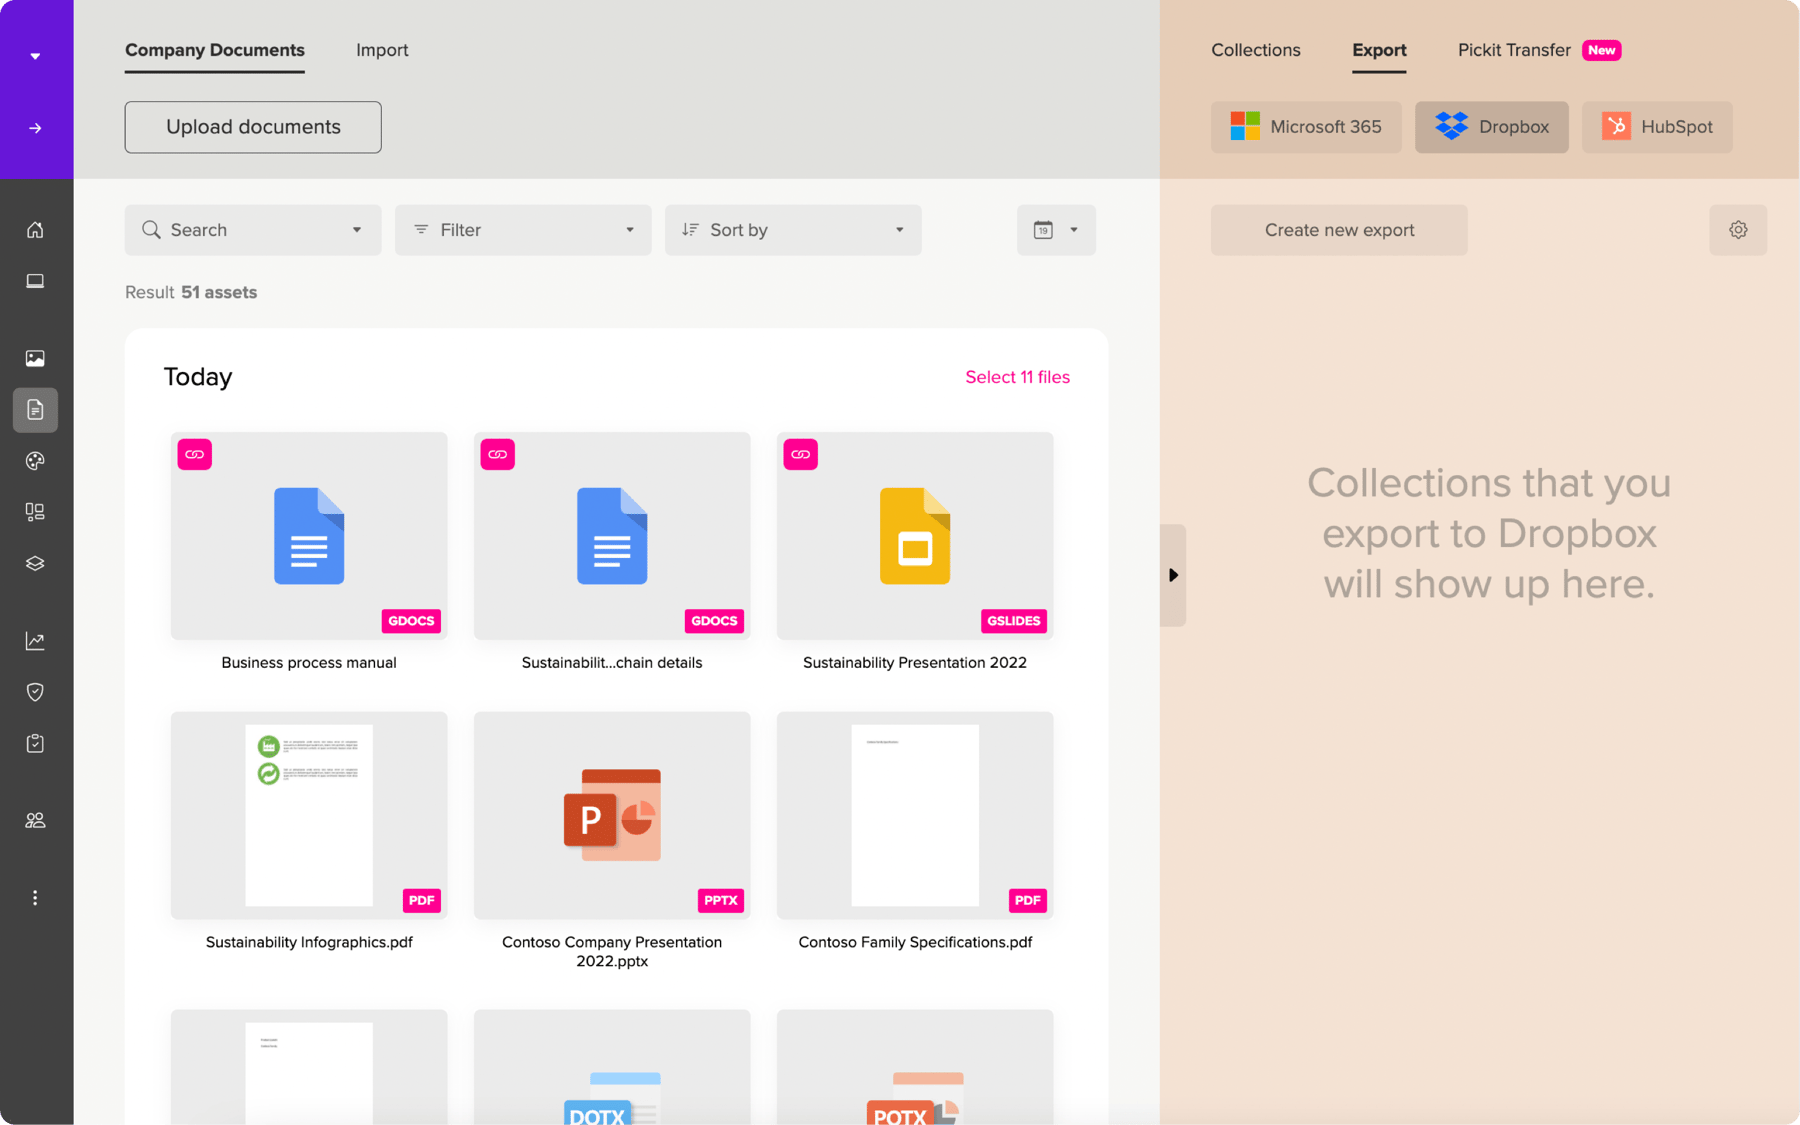
This integration allows you to export files from Pickit to your folders in your Dropbox account. Go to the Documents tab of Pickit's Content Administration Tool.
The Export tab is located in the menu up on the right side of your screen, from where you select Dropbox and Create a new export. On the Export Pickit collections to Dropbox window, first you need to select a destination folder or Search Dropbox for a specific folder > Next > Select Collections > Next > Review file types > Next > Configure export > Name your export > select Occurrence: Daily or Once > Create sync and begin export.
The export will appear listed on the right side of the screen under the Dropbox tab.
HubSpot Export
Administrators can authenticate by clicking Export for HubSpot in the Documents tab of Pickit's Content Administration Tool, and choose to export selected files either once or daily. These will then show up in the chosen folder in Files under the Marketing tab in HubSpot, ready for use on websites, landing pages, emails, blogs, and social media posts.
Please visit the HubSpot Integration for Admins Guide for a step-by-step look at connecting your Pickit DAM account to HubSpot.